Print-on-demand apparel sounds simple on paper. Someone designs a shirt. Someone else buys it. The shirt gets made and shipped. But the actual workflow involves a chain of decisions, equipment, software, and logistics that most buyers never see. Knowing how the process actually runs helps both shoppers and aspiring sellers make better decisions about quality, pricing, and timing.
This walkthrough covers the full chain from design upload to package arrival, with the technical details that matter and the steps most operations get wrong.
Step One: Design Creation & Upload
The process starts with a digital design file. This is usually a PNG or SVG with a transparent background, sized to match the print area of the target apparel item. Tees typically print at twelve by sixteen inches for front graphics. Sweatshirts and hoodies use similar dimensions. Smaller items like hats use scaled-down versions.
The file needs to be high resolution. Most print-on-demand operations require at least 300 DPI for sharp output. Lower resolution files print fuzzy, pixelated, or with visible jagged edges. Designers who skip this step end up with returns and bad reviews.
Once the file is ready, the designer uploads it to the platform or sets it up in a brand’s e-commerce backend. The system maps the design to specific products and price points. A single graphic might run across tees, sweatshirts, mugs, and tote bags, each priced based on the base item plus print cost plus margin.
Step Two: The Order Comes In
When a customer places an order, the system routes the data to the print operation. The order includes the product type, size, color, design file, and shipping address. The print queue picks up new orders in real time, with most operations processing within twenty-four hours of order placement.
This is where the speed advantage of modern print-on-demand shows up. Older systems had manual handoffs that delayed orders by days. Current setups automate the routing so the print queue updates seconds after checkout.
Step Three: The Blank Gets Pulled
Before any printing happens, the right blank product has to come out of inventory. Print-on-demand facilities stock blank apparel in bulk. Hundreds of color options, dozens of styles, full size ranges from XS to 5XL. The system pulls the specific item that matches the order, often using automated retrieval setups in larger operations.
Quality control happens at this step. Damaged blanks get pulled and replaced. Color mismatches get caught. The piece that moves forward into printing is the one that meets the operation’s quality standard.
Step Four: Printing
The actual print process varies depending on the product and the operation’s setup.
Direct-to-Garment Printing
The dominant method for tees, sweatshirts, and other cotton apparel. A DTG printer works like a giant inkjet printer, except instead of paper, it prints directly onto fabric. The shirt gets loaded onto a platen, the printer applies a pretreatment to help ink adhesion, and then the design prints in multiple ink layers. The print head moves over the fabric depositing ink based on the design file.
DTG works well for detailed graphics, photo-realistic prints, and multi-color designs. Modern DTG can produce prints that match the quality of traditional screen printing for most applications.
Sublimation Printing
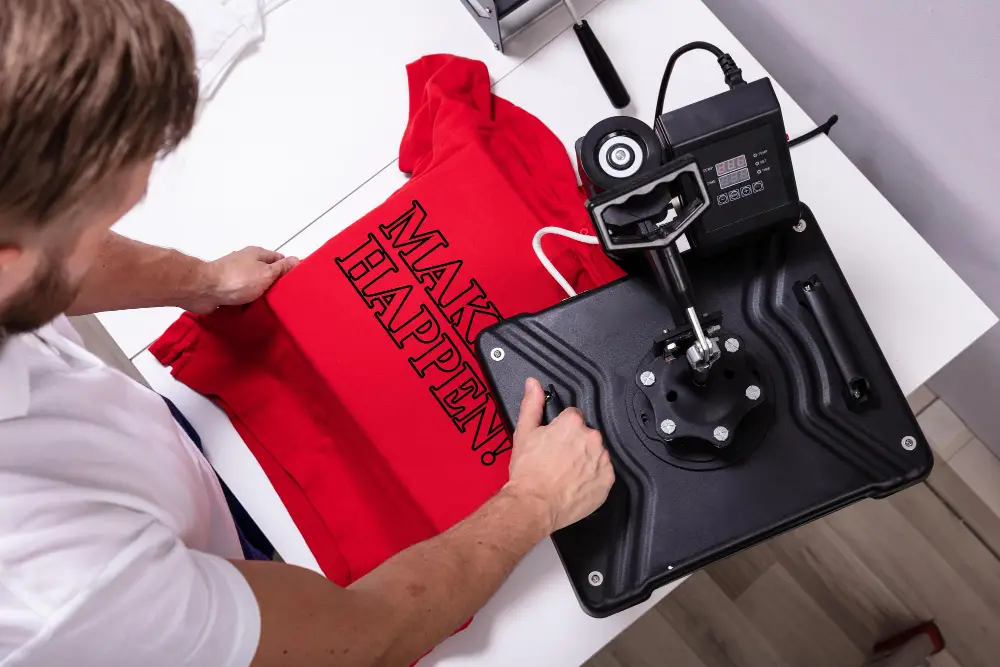
Used for polyester apparel, mugs, and certain accessories. The design gets printed onto a transfer paper, then heat-pressed onto the product. The ink turns into gas under heat and bonds with the fibers of the fabric or coating. Sublimation produces durable, rich-colored prints that resist cracking and fading. The main limitation is that sublimation only works on light-colored polyester, not cotton.
Embroidery
Common for hats, polos, and certain branded apparel. The design file converts into stitch data, the embroidery machine threads up with the right colors, and the design gets stitched directly into the fabric. Slower than printing but produces a more premium feel.
Step Five: Curing & Finishing
After printing, the ink has to cure to lock into the fabric. DTG prints go through a heat tunnel or heat press to set the ink. Sublimation pieces are already cured during the transfer process. Without proper curing, the print would crack and peel within a few washes.
The piece then gets folded, packaged, and labeled with the shipping information. Most operations also include a small thank-you card or branded inserts depending on the seller’s preferences.
Step Six: Shipping
The package leaves the print facility through a shipping carrier. Most print-on-demand operations partner with major carriers for discounted rates. Tracking information uploads automatically to the customer.
Modern print-on-demand operations turn orders around in two to five business days from order to ship. Faster operations ship within forty-eight hours. Slower ones take a week or more, which is one of the main complaints buyers have about cheaper providers.
Why the Workflow Matters
Each step in the chain affects the final product. Bad design files produce bad prints regardless of the printer quality. Cheap blanks ruin even great prints. Slow processing kills the customer experience. Poor curing means the print fails within weeks.
The print-on-demand operations worth buying from get every step right. They use proper file specifications, premium blanks, fast processing, professional printing methods, and reliable shipping. The operations to avoid cut corners somewhere in the chain, and the buyer ends up paying for those corners through bad product quality, delays, or both.
For buyers, the workflow knowledge translates into smarter shopping. For aspiring sellers, it translates into better partnerships with print providers and clearer expectations for what the product will actually look like when it arrives.